+7 (7212) 996606 / +7 (708) 4360630
info@ardcon.kz
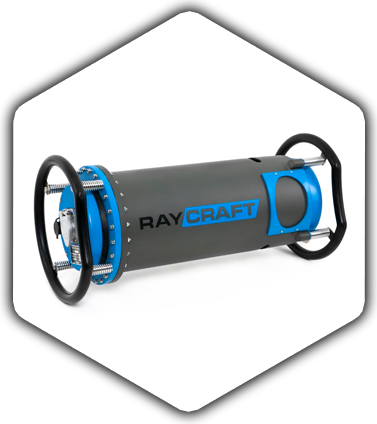
Radiographic testing is one of the most informative and reliable DNT methods. This method is overall used for diagnostic such facilities as pipelines of various diameters, metal constructions, technological equipment, products made from composites and so on.
Visual and measurement testing is performed to obtain initial information about the object under inspection (VMT). VMT is directed at testing of blank parts quality for melding and also evaluation of welded joints quality. External expertise is an integral part of technical diagnostics. It is performed not depending on using other DNT methods.
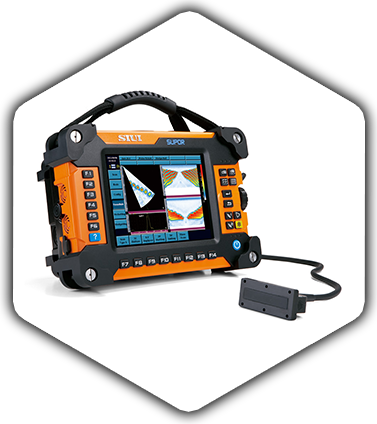
Ultrasonic testing- Based on the use of elastic vibrations mainly ultrasonic frequencies. Basic methods: shadow, resonance, impedance, free oscillations, ehometod...
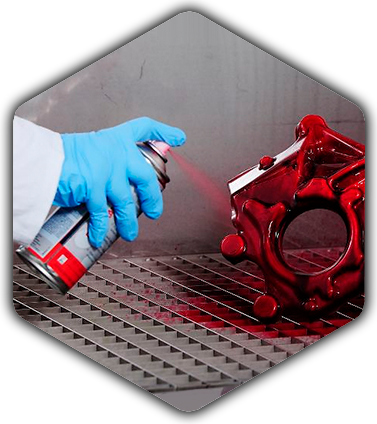
Control penetrant- based on the use of elastic vibrations mainly ultrasonic frequencies. Basic methods: shadow, resonance, impedance, free oscillations, ehometod...
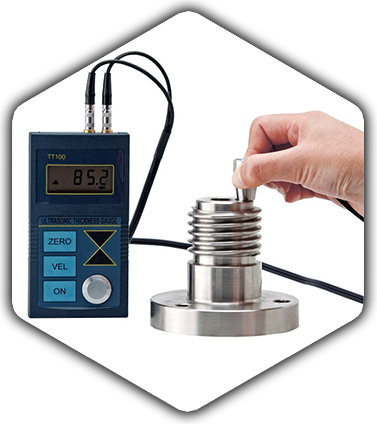
Ultrasonic thickness- Based on the use of elastic vibrations mainly ultrasonic frequencies. Basic methods: shadow, resonance, impedance, free oscillations, ehometod...
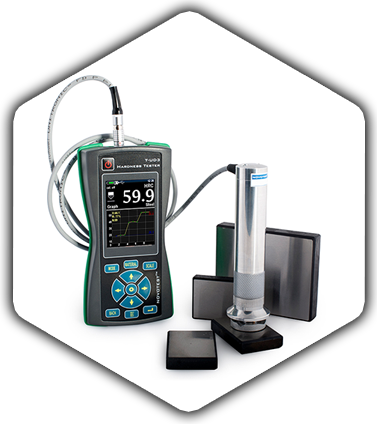
Mechanical testing of materials- Based on the use of elastic vibrations mainly ultrasonic frequencies. Basic methods: shadow, resonance, impedance, free oscillations, ehometod...
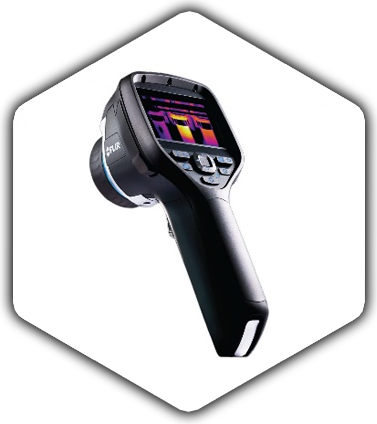
Basic by realization of thermal imaging testing is creation of apparatus facilities, providing transformation of the temperature distributing or infrared to the visible image. Realization of possibilities of thermal imaging testing, providing both the exposure of internal defects in different objects and effective decision of problem of «nightly vision», findings out the hidden or disguised objects or realization of searching measures are in difficult weather terms, stipulated creation of wide spectrum of thermal-imaging of apparatus facilities: portable, mobile, stationary.
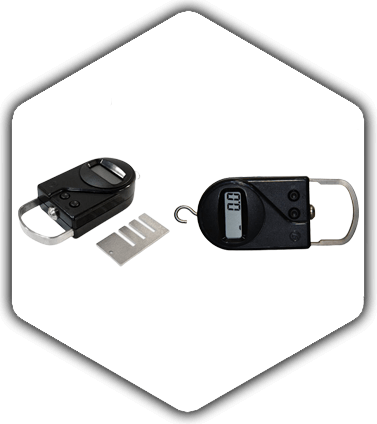
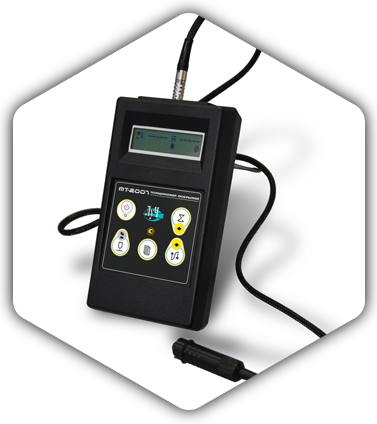
Magnetic coating thickness gauge MT-2007 is designed to measure thickness of paint and lacquer, electroplating, fire-retardant, and any other non-magnetic current conducting and non-conducting coatings on ferromagnetic (steel, cast iron etc.) foundations.
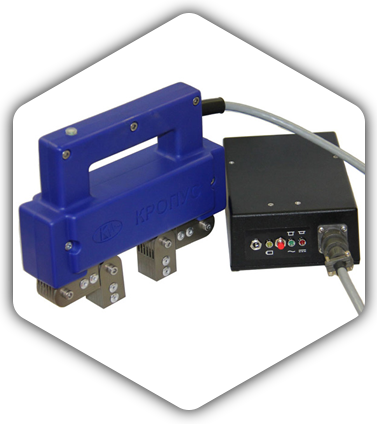
Magnetic particle testing (MPT) is high on the list in the system of non-destructive testing methods. This is due to its high-speed response to surface and subsurface defects, simplicity, flexibility and clear presentation of testing results.
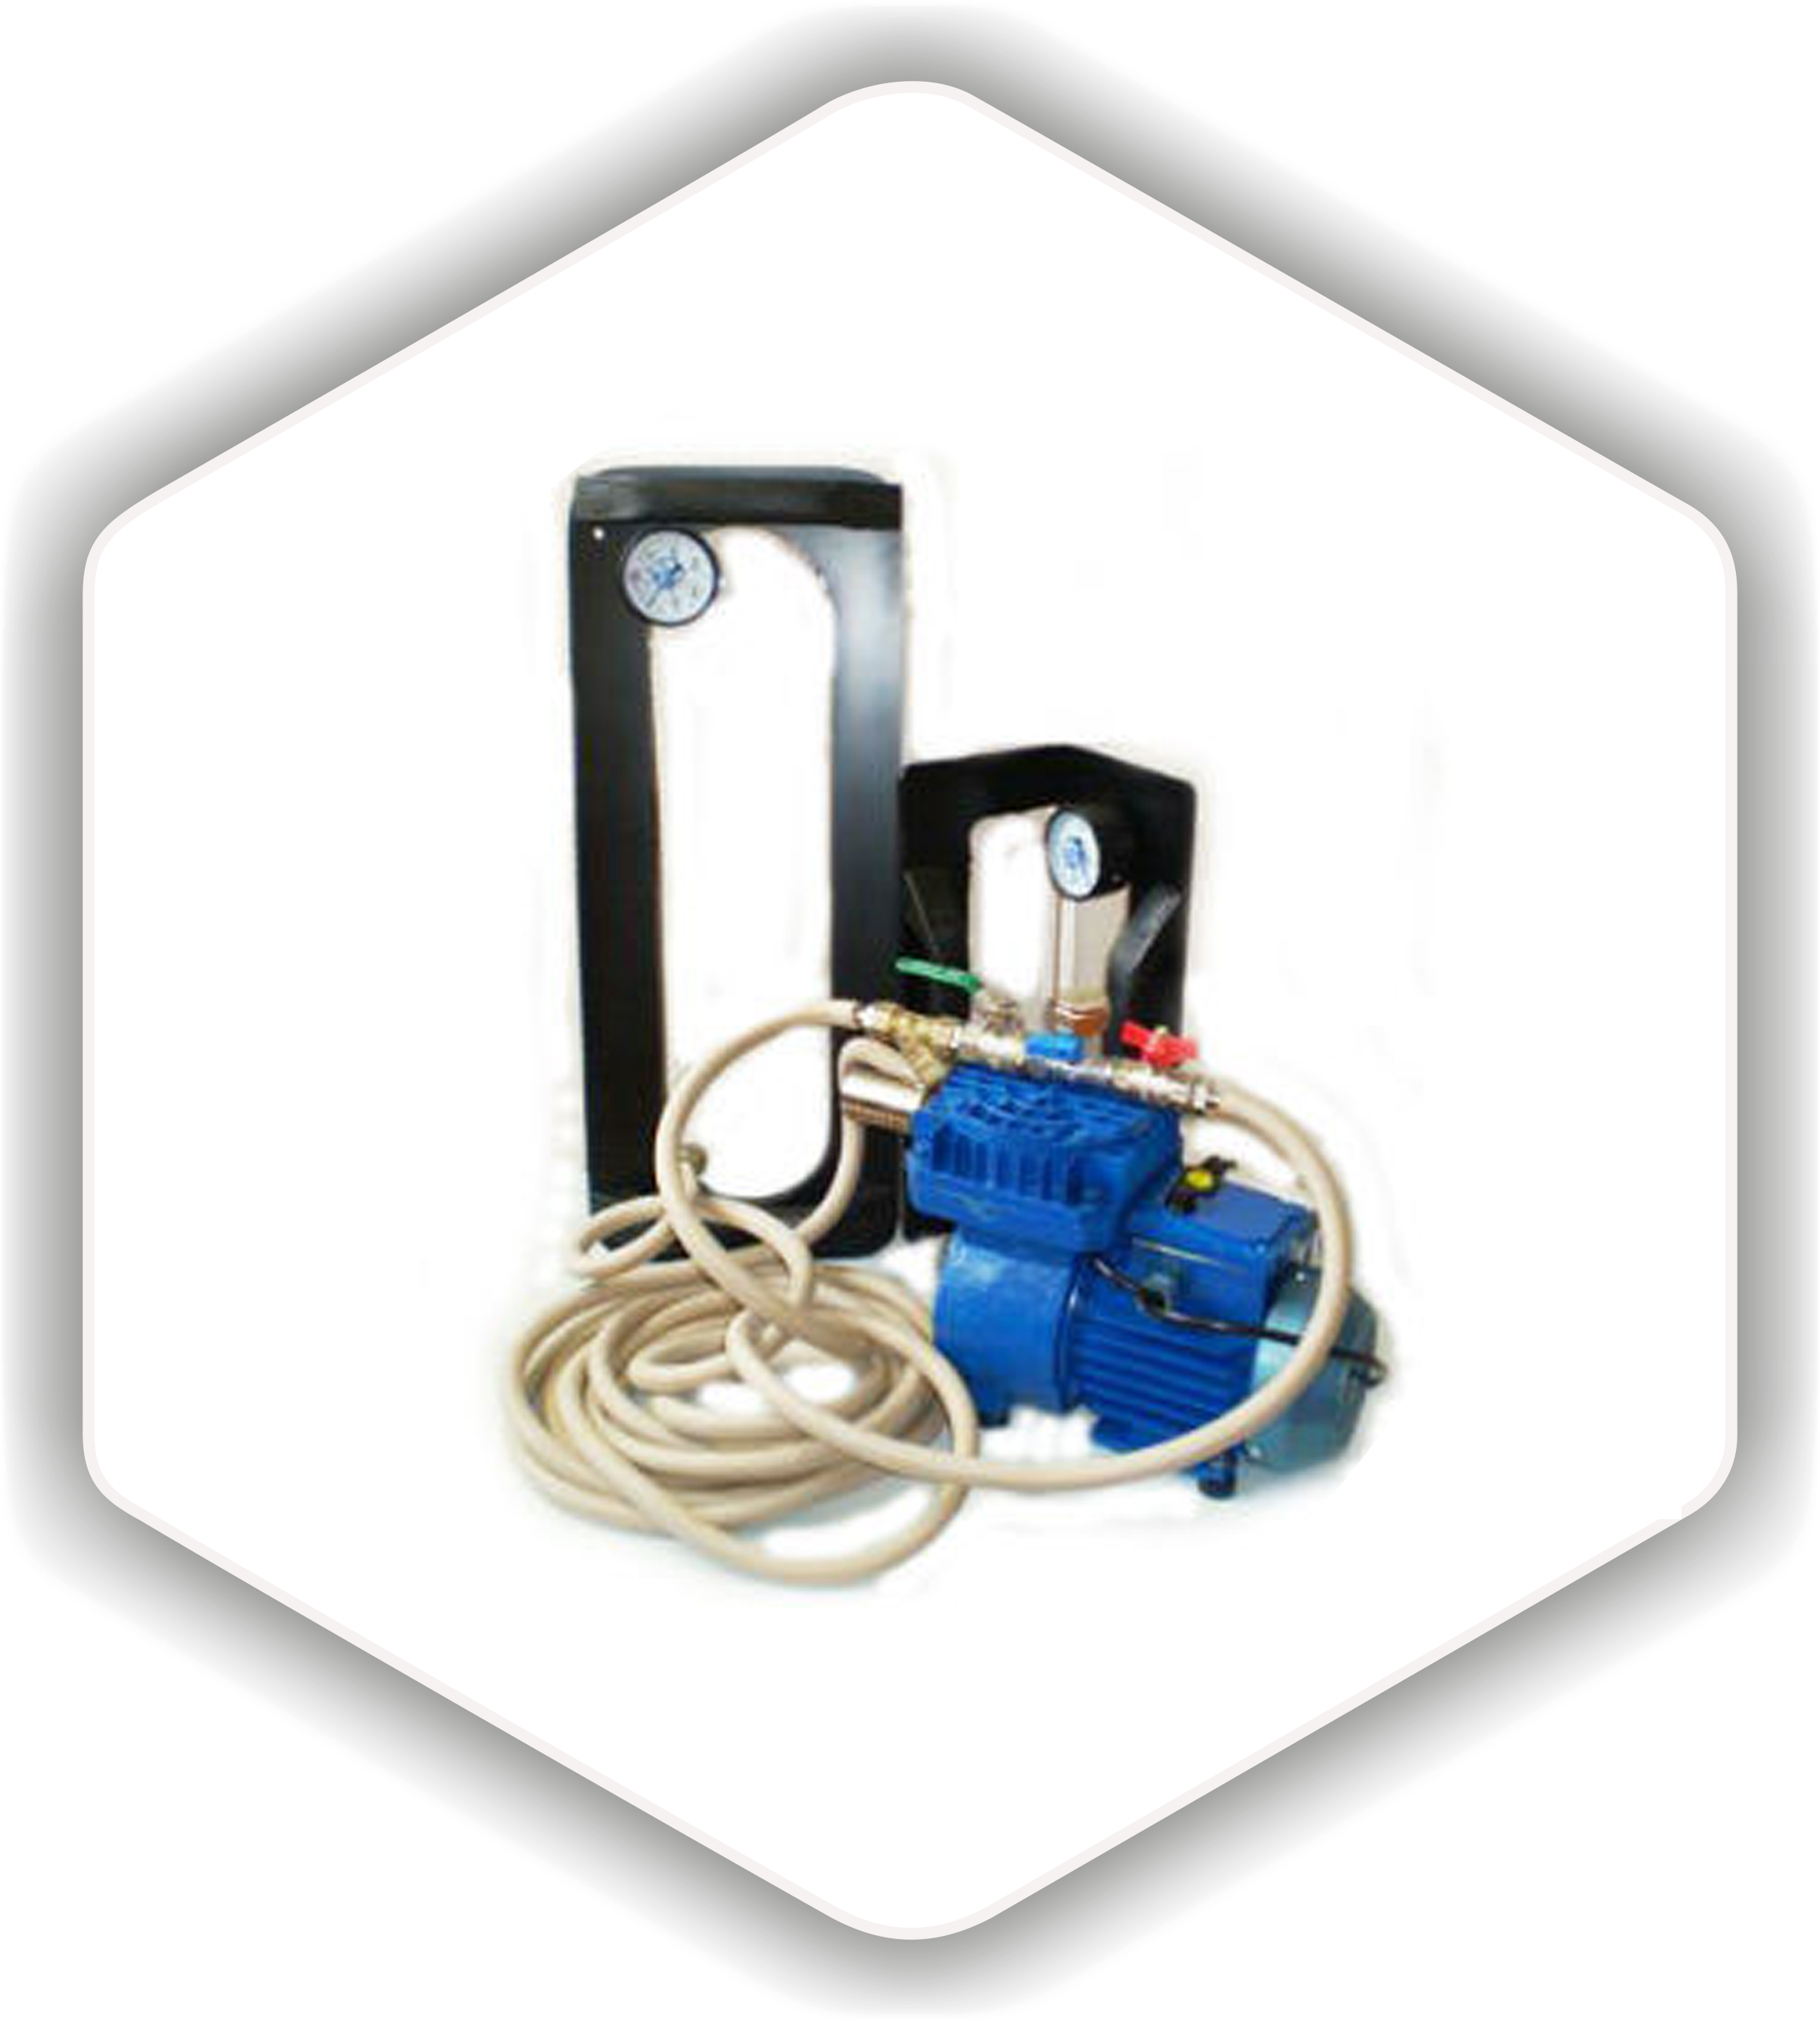
The vacuum-bubble testing method allows to detect penetraion defects. When testing by this method, a vacuum chamber is installed on the side of the test section of the welded joint moistened with indicator solution, and negative pressure is generated in a chamber. Due to the generated differential pressure, atmospheric air penetrates through-and-through defects, causing their bubble indication.
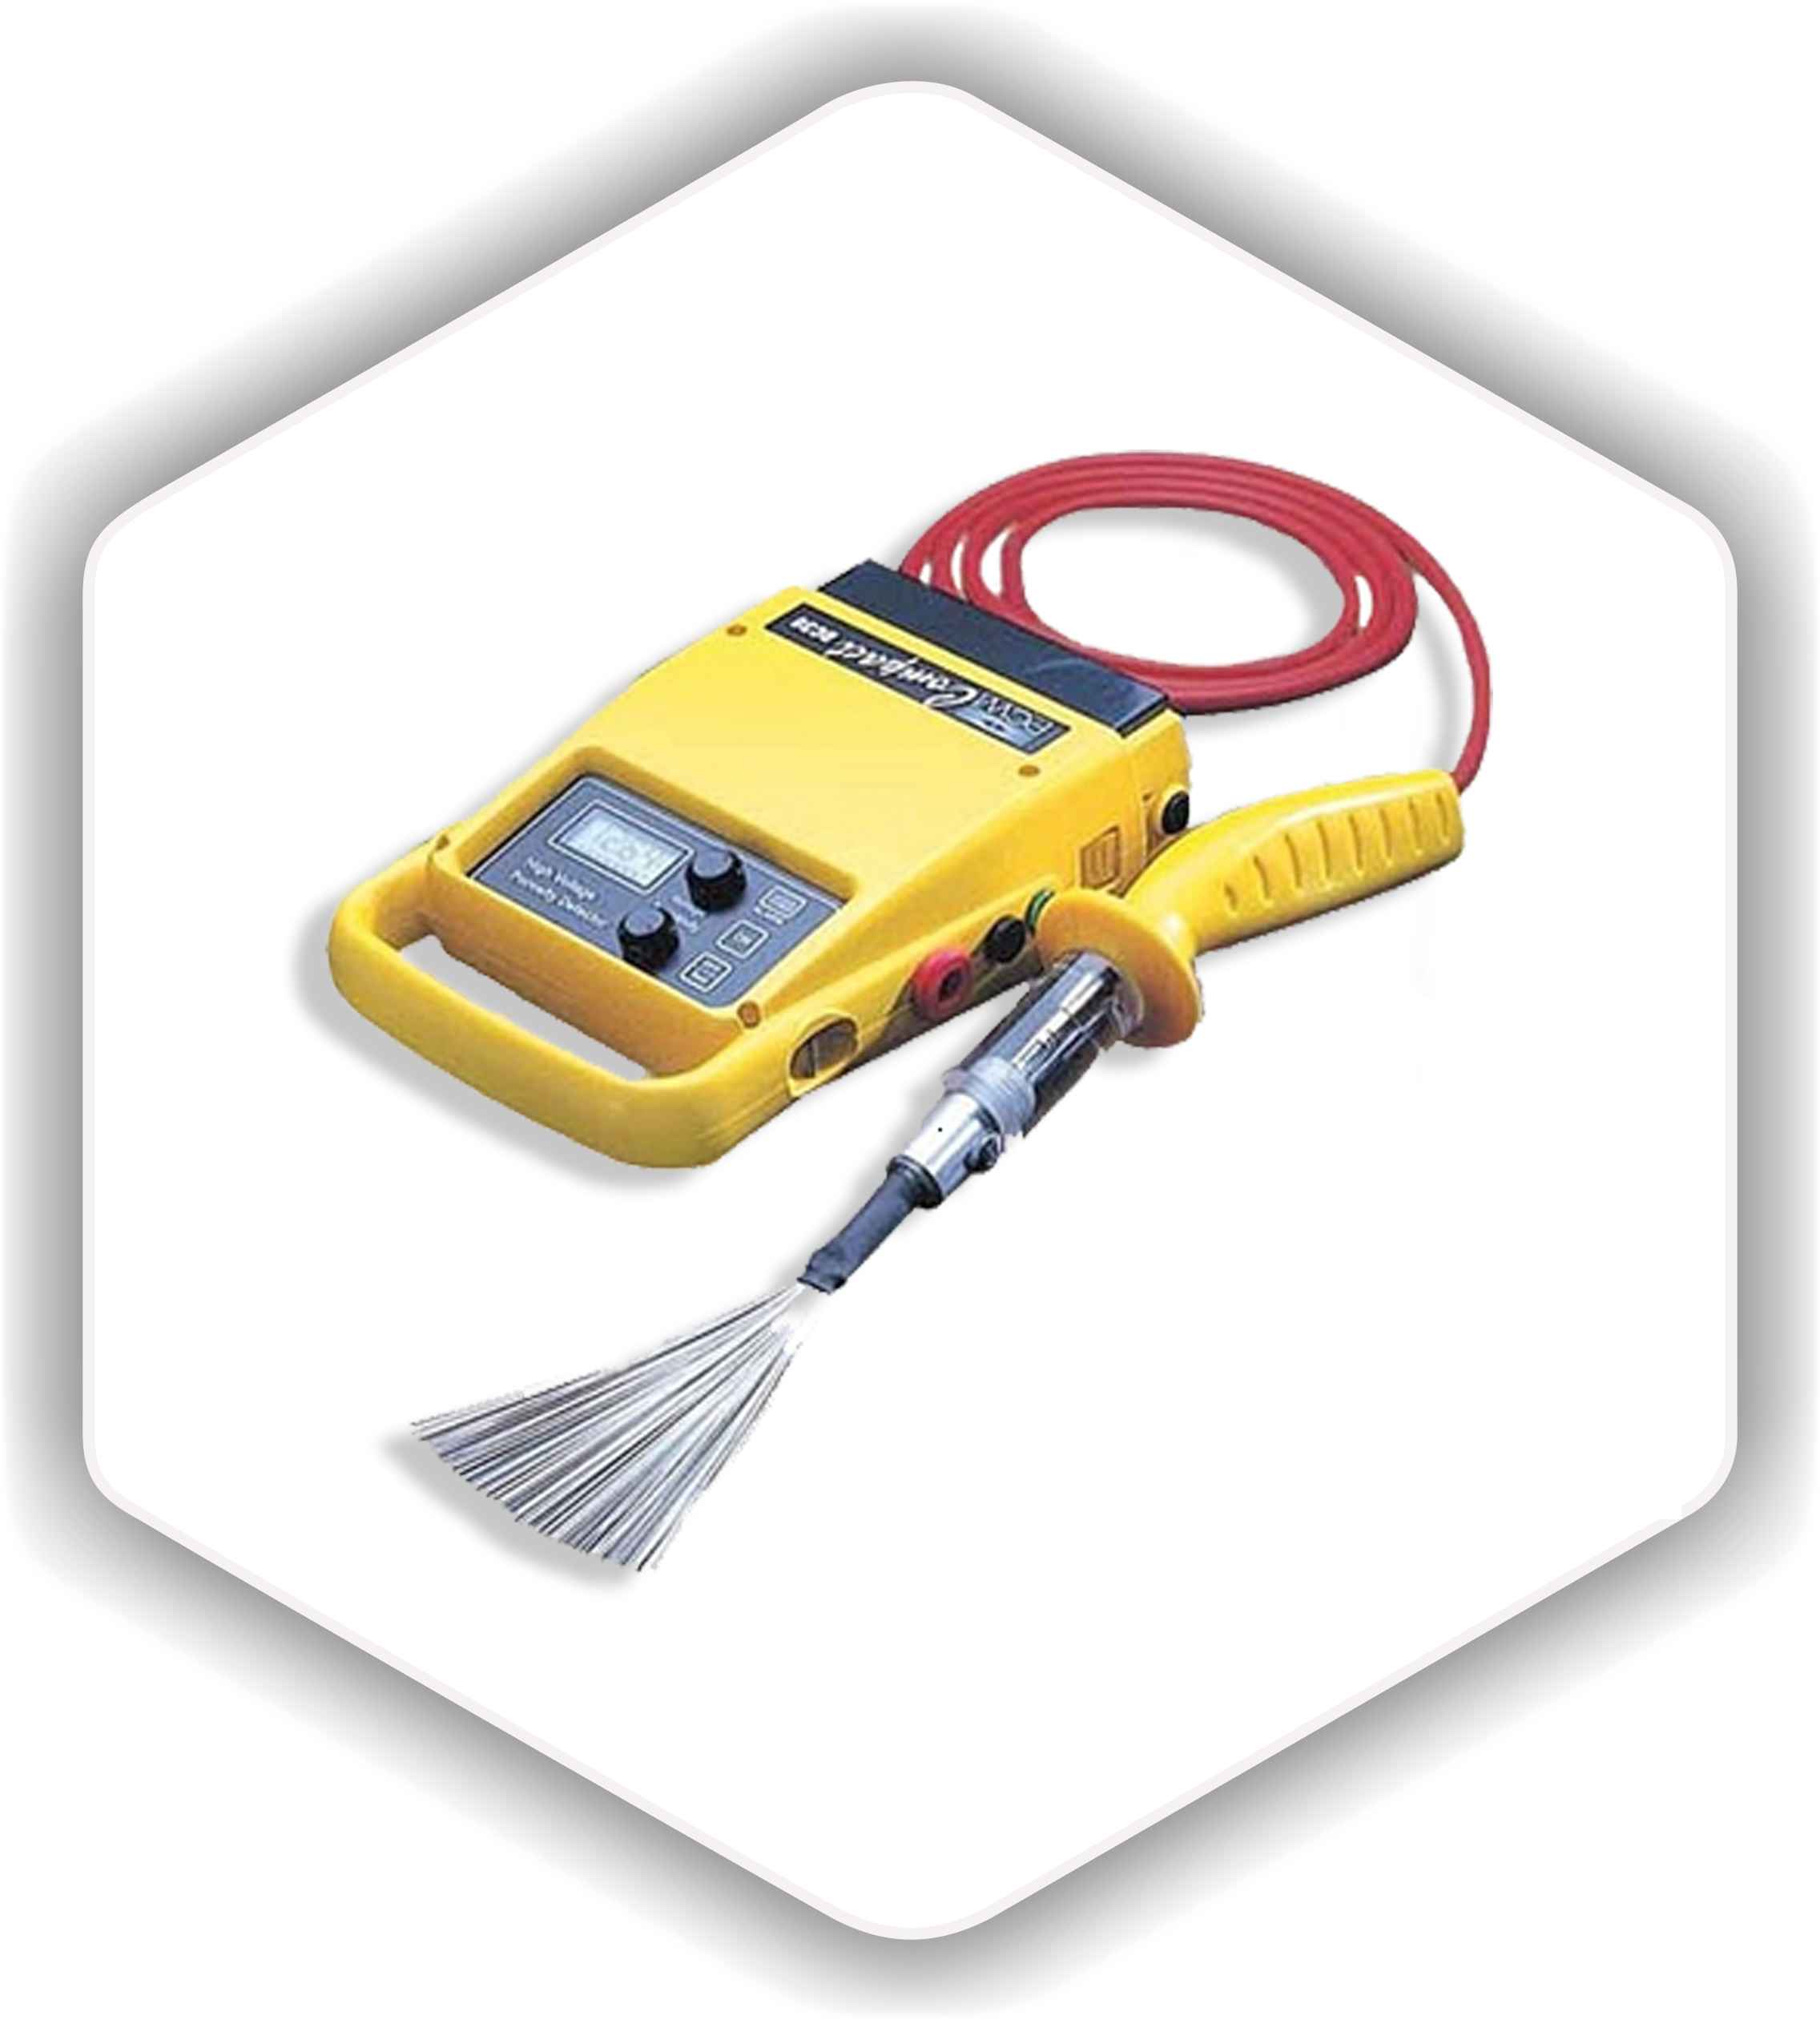
Spark testing method is a method of electrical non-destructive testing based on recording electricalbreakdowns and (or) changes in the parameters of the test item in the environment or at the section.
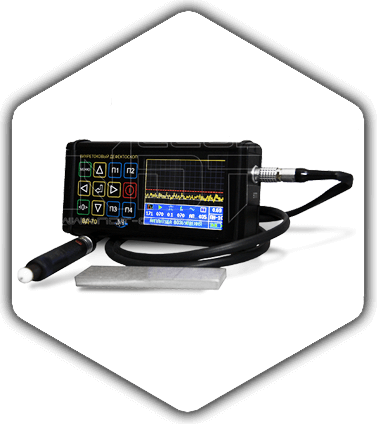
Вихретоковый контроль – метод неразрушающего контроля для проверки изделий из токопроводящих материалов на наличие поверхностных дефектов (трещин, волосовин, закатов, надрывов и др.), основанный на взаимодействии внешнего электромагнитного поля с электромагнитным полем вихревых токов, наводимых в объекте контроля этим полем.
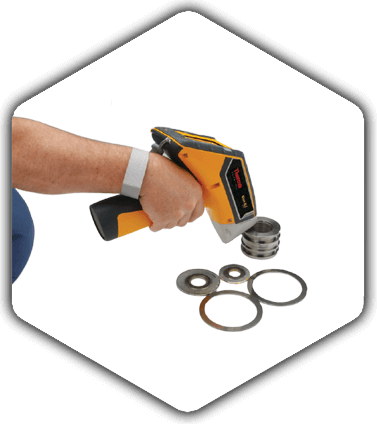
Спектральный анализ широко используется в различных отраслях промышленности и науки, и служит универсальным инструментом, который позволяет точно и оперативно исследовать элементный состав вещества. Эта информация необходима для правильного ведения технологических процессов, контроля качества исходных материалов, промежуточного и готового продуктов, а также позволяет создавать новые материалы с заданными качествами.
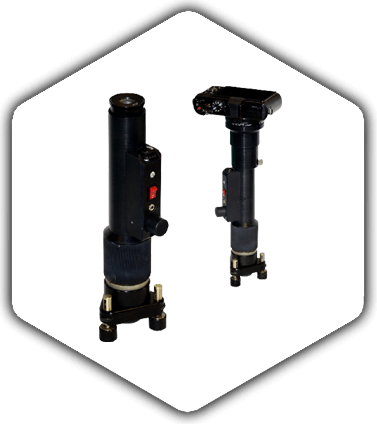
Металлографический метод контроля – это комплекс испытаний и аналитических мероприятий, направленный на изучение макроструктуры и микроструктуры металлов, исследование закономерности образования структуры и зависимостей влияния структуры на механические, физико – механические и другие свойства металла.
Адгезия – это устойчивость к отслаиванию однослойного или многослойного антикоррозионного покрытия к окрашиваемой поверхности и/или между слоями. Поэтому при монтажных работах по устройству изоляции проводится контроль адгезии, изучается вопрос о соответствии изоляционного покрытия с типом трубопровода и климатом, в котором будет проложена магистраль. Несоответствие может повлечь тепловые потери, ранний износ труб, что потребует дополнительных экономических вложений.
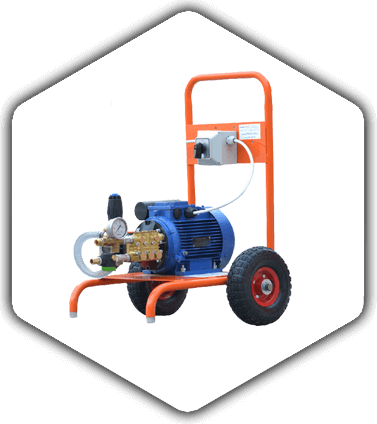
Гидравлическое испытание — необходимая процедура, свидетельствующая о надёжности оборудования и трубопроводов, работающих под давлением, в течение всего срока их службы, что крайне важно, учитывая серьёзную опасность для жизни и здоровья людей в случае их неисправностей и аварий
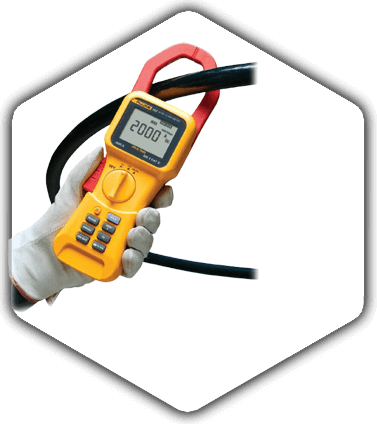
Под термином «электробезопасность» понимается система организационных и технических мероприятий и средств, обеспечивающих защиту людей от вредного и опасного воздействия электрического тока, электрической дуги, электромагнитного поля и статического электричества. Одним из мероприятий является проведение контроля электробезопасности электроприборов.
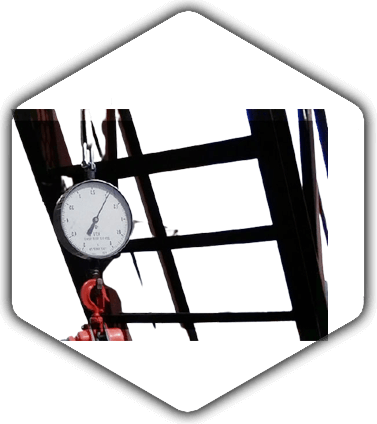
Контроль за состоянием лестниц заключается в периодической проверке прочности их несущих элементов, узлов сопряжения лестниц
Methods of nondestructive testing

Visual and measurement testing

What problems does visual and measurement testing solve?

Visual and measurement testing is performed to obtain initial information about the object under inspection (VMT). VMT is directed at testing of blank parts quality for melding and also evaluation of welded joints quality. External expertise is an integral part of technical diagnostics. It is performed not depending on using other DNT methods.

The main advantages of this method:

  • sufficient information content
  • efficiency, frugal cost of equipment and consumables
  • operational capability, quick receiving of information about the object
  • lower requirements for staff qualification

Visual and measurement testing is effective for detection of discontinuity flaws and determination of deviations from assigned geometry. Depending on the tasks, diagnostic is performed by the naked eye or using of magnifying loupes (with 10- or 20-fold power) and special equipment.

Surface area is cleaned for testing process from such impurities as:

  • dross
  • rust
  • dust
  • oil
  • metal splashes
  • paint fragments

Testing zones of this method are welds and joining metals in width from 20 mm on both sides. As a rule, VMT is preceded to testing by other methods. Subsisted defects at this phase must be eliminated before testing by other methods.

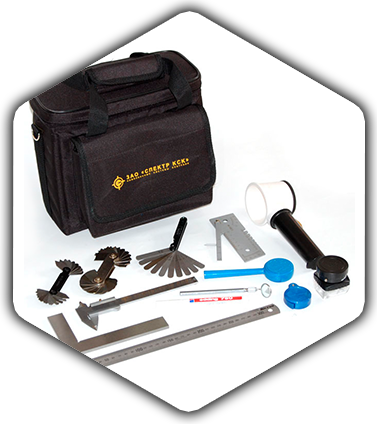
Optical testing is performed using the following measurement instruments and tools:

  • measuring magnifier
  • caliper
  • metal ruler
  • inclinometer
  • triangle
  • stylus instrument
  • sampler

Despite the simplicity, VMT is effective method to detect defects and prevent emergencies. This method allows to determine the deviation of the geometric characteristics from assigned parameters and also subsist cracks, nicks, layering, folds, holes, slag inclusions and other visual defects.

VMT using cases:

1. Inspection testing of materials.

2. Elements preparation for assemblage and welding. Components are checked to determine their compliance with the requirements for clean and edge preparation, estimate the gap setting, as well as the amount, reliability and tacks position. In addition, inspection is performed to verify the absence of surface and angular shifts.

3. The final phases of welding works and their ending. Weld defects check for the absence of such flaws as cracks, holes, pores, burn marks, overlaps, rough scales, poor penetration, low spot between beads and others. It is necessary to evaluate maintenance of the weld geometry according to regulatory requirements.

4. Subsequent technical diagnostics. During exploitation it is possible that the base metal and welded joints may be exposed to corrosive pits, fatigue cracks and other defects. They must be detected earlier to spend less time and required expenses for the repair process.

LLP «ARDCON» offers services of welding and metal testing laboratory. The laboratory is certified to the following control methods: radiographic testing, ultrasonic flaw detection, ultrasonic thickness measurement, metal hardness measurement, liquid penetrant testing, magnetic particle inspection and other NDT methods. For consultation, a potential customer can contact with our technical specialists and discuss the questions.

Tel. +7 (7212) 996606,
Tel. +7 (708) 4360630
M02F3P7, Republic of Kazakhstan,
Karaganda region, Karaganda,
st.Navigational 7, housing 2
E-Mail: info@ardcon.kz
CALL ME
+
Call me!